How to create/edit a post?
In this article, you will get acquainted with the following information:
To add a publication, click the button in the top right corner. To edit publications, click the Edit icon. It will be available only for posts with the status Sent, Draft, or Scheduled.
Attention! It is impossible to edit and delete posts through the personal account for the Instagram catalog!
If, when creating a post, you select companies that do not have publishing permissions (in the company selection window, such catalogs are displayed in gray for those locations), the post will not be published for those companies.
When the company obtains the necessary permissions, to send the post to that location, follow these steps:
- Go to post editing.
- Remove the company from the list and click Update.
- Reopen the post editing.
- Add the company again and click Update.

The corresponding page will open. Publication creation/editing consists of 4 stages:
- Send Options.
- General content settings (this step will appear only if multiple services are selected for post publication in the first step).
- Adaptive content settings.
- Submitting a publication.
Fields marked with asterisk (*) are mandatory.
Attention! On the publication editing page, some fields may be unavailable for modification.
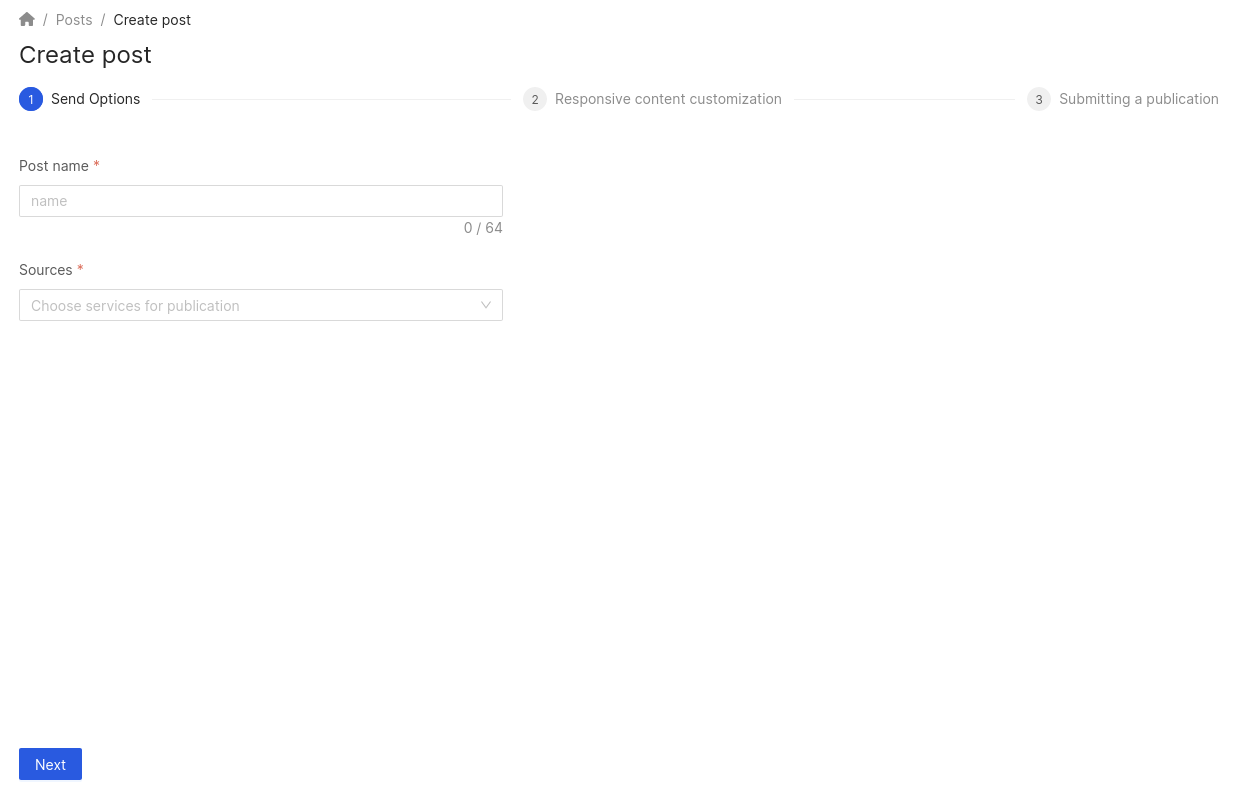
Send Options
You can add/change the Post name at the beginning.
![]()
Next, select the services where the posts will be placed. To do this, click on the Sources field and select the desired options from the dropdown menu. You can read about the publication requirements for each directory here.
Attention!
The Instagram catalog will be available only after linking the Facebook account. You can find out more about how to do this here.
- The linked Facebook account must have a Business Manager, and the Instagram profile where the posts are planned to be published must be linked to this Business Manager. You can find out how to create a Business Manager in Facebook here.
- If the Facebook account has already been linked, it needs to be relinked. This is necessary for obtaining publishing rights.
![]()
When selecting only Facebook and Instagram, the following fields will appear: Facebook Pages, Instagram Pages, and Brands.
Attention!
- For Facebook, you need to either select a page or a company. How to select companies is described in the documentation below.
The Brand field may not be displayed in the following cases:
- If you have only one brand.
- If the Google catalog was selected.
- If Google was not specified, but Facebook and companies were selected.
![]()
To select a page for publication, click on the corresponding field and select the desired option from the dropdown menu.
![]()
To select a brand, click on the Brands field and select the desired option from the dropdown menu.
![]()
Next, click on Select Companies.
Attention!
- If only the Facebook source and the necessary page are specified, selecting companies is optional.
- When selecting only the Instagram source, the company selection button will be disabled.
In the opened window, select the desired companies from the list and click Finish.
The right column of the list will display the directories to which a publication can be sent. If the catalog is shown in gray, it means it needs to be configured before you can send a post.
- For Instagram and Facebook, you need to link a Facebook account. More details on how to do this can be found here.
- The linked Facebook account must have a Business Manager, and the Instagram profile where you plan to publish posts must be connected to this Business Manager. Instructions on how to create a Business Manager in Facebook can be found here.
- If a Facebook account has already been linked, it must be re-linked. This is necessary to obtain publishing permissions.
- For Google and Yandex, you need to link the companies. More details can be found here and here.
To find the desired company, you can use the search field by name or address, as well as filters by brands and groups.
You can view the already selected companies to understand which locations are still missing. To do this, check the box for Show only selected companies.
If the necessary companies were sorted in the top filter, they can be selected by clicking on Select from common filter. More information about this filter can be found here.
After filling in all the fields, click Next.
General content settings
Attention! This step will only appear if you have selected multiple sources in the first step!
If you have selected only one service, the second step will be Adaptive content settings.
In the general settings, you can add the same image and text for all directories. If you want to customize the content for each service separately, skip this step, click Next, and proceed to Adaptive content settings. More details about it are described in the next section of the documentation.
The page on the right will describe the general requirements of the services for publications.
In the first field, add/edit the publication text. Recommended length is 150-300 characters.
![]()
The post text can be generated. To do this, click on the corresponding button in the Neural Network Suggestions field. You need to wait for some time.
A proposal for a post will appear. If you like the idea, click Choose.
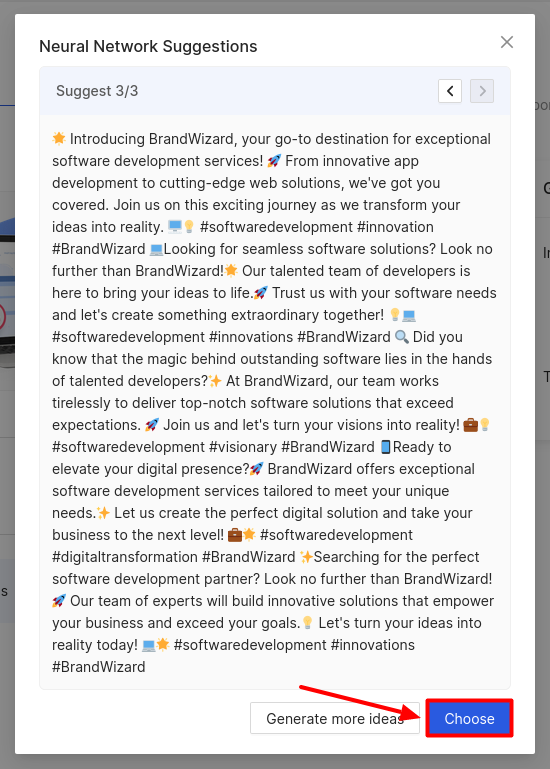
![]()
After that, it will be displayed in the Post body field, where you can edit it.
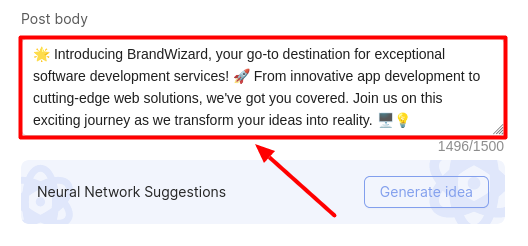
![]()
If the displayed option is not suitable, click on Generate more ideas. Wait for a while. A new text will be displayed.
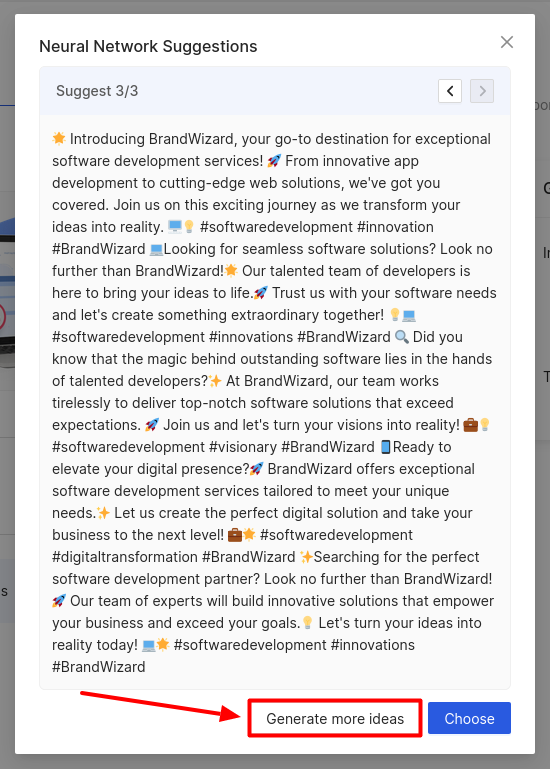
![]()
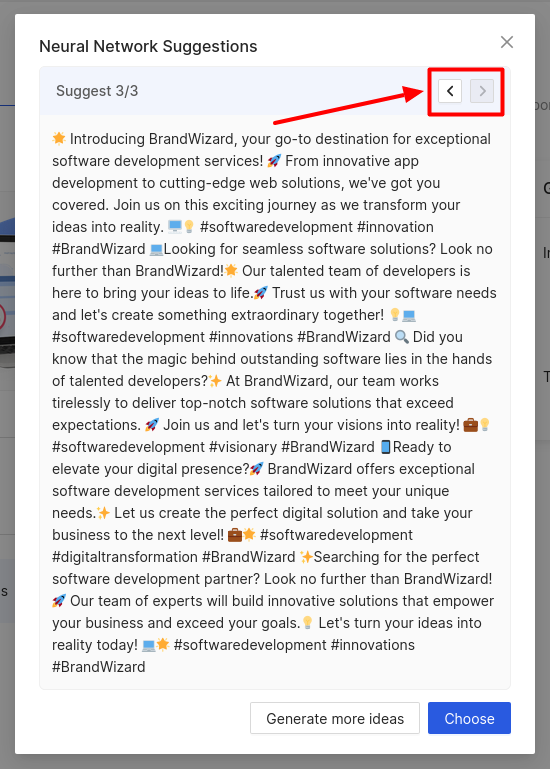
To switch between sentences, use the arrows in the upper right corner of the window.
To add an image, click on the corresponding field and upload the desired image.
To delete or view an image, hover over it and click on the corresponding icons.
Click on Next after filling in the field.
Adaptive content settings
At this stage, you can customize the content for each catalog separately. To do this, select the desired service.
The requirements of the source for publications will be displayed on the right side of the page, depending on which catalog is selected. You can also read the requirements in the documentation here.
Attention! Be sure to read them on each catalog tab, so you can quickly and without mistakes fill in all the fields.
In the first field, add/edit the publication text. The recommended length is 150-300 characters.
The post text can be generated. To do this, click on the corresponding button in the Neural network suggestions field. It may take some time.
A proposal for a post will appear. If you like the idea, click Choose.

![]()
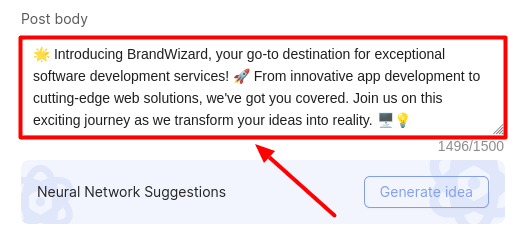
After that, it will be displayed in the Post body field, where you can edit it.
![]()
If the displayed option is not suitable, click on Generate more ideas. Wait for a while. A new text will be displayed.

To switch between sentences, use the arrows in the upper right corner of the window.

For all services, you can upload images and add publication text. To add an image, click on the corresponding field and upload the desired image.
To delete or view an image, hover over it with the mouse cursor and click on the respective icons.
Google's catalog has its own rules for content placement. You can learn more about them here and here.
In addition to the image and post text, you can also add Post type.
![]()
When choosing posts of type News or Event, an additional field Button type will appear. When you click on the field in the drop-down list, select the desired option.
![]()
After that, the Button link field will appear.
Attention! For the Call now button type, the field for adding a link will not be displayed.
![]()
When choosing the Event type, fields for filling in will appear: Event title, Event start, Event end.
![]()
To select the start/end date and time of an event, click on the Event start and Event end fields.
Then, choose the date and time from the drop-down menus and click OK.
![]()
When selecting the Offer type, additional fields will appear: Coupon, Promotion URL, Terms and conditions, Event title, Event start, Event end.
Attention! It is mandatory to fill in one of the fields: Coupon, Promotion URL or Terms and conditions.
![]()
To select the start/end date and time of an event, click on the Event start and Event end fields. Choose the date and time of the event from the drop-down menus, and click OK.
![]()
For the Facebook catalog, you can add either an image or a video. Choose one of the two options and upload the file. You can add up to 4 images.
For this catalog, as well as for Google, the Button link field will be displayed.
![]()
Attention!
The Instagram catalog will be available only after linking the Facebook account. You can find out more about how to do this here.
- The linked Facebook account must have a Business Manager, and the Instagram profile where the posts are planned to be published must be linked to this Business Manager. You can find out how to create a Business Manager in Facebook here.
- If the Facebook account has already been linked, it needs to be relinked. This is necessary for obtaining publishing rights.
For the Instagram catalog, you can add both images and videos. Click on the fields and upload the files. You can add up to 4 images.
Attention! Uploading an image and video, as well as adding text, is mandatory!
Publication Preview
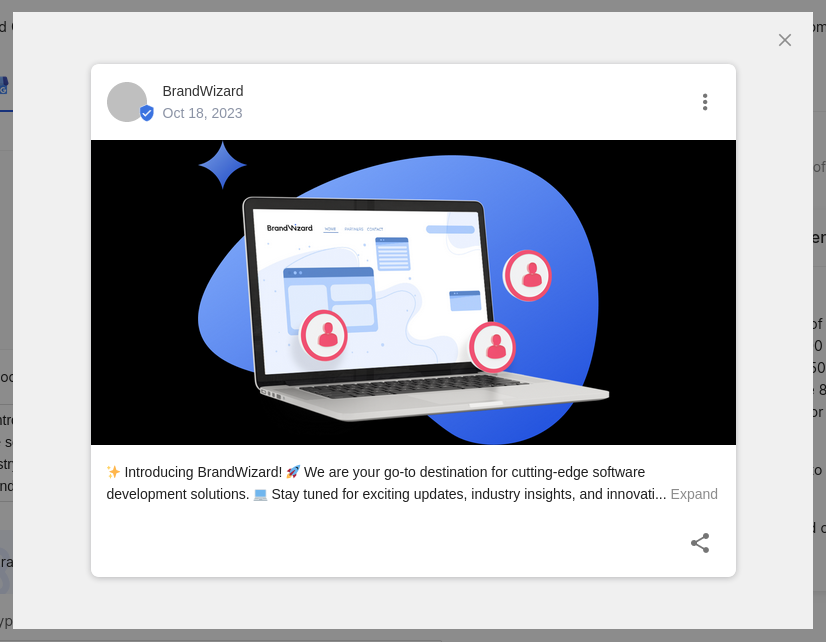
To see how the post will look on the catalog, click on Desktop.
Attention! Preview for smartphones will only be available for Instagram.
A window with your publication will open.
![]()
After filling in all the fields, click Next.
Submitting a publication
At this stage, you can schedule the sending and deletion of the post. To do this, click on the Date and time of dispatch field. Then, choose the date and time for the post from the drop-down menu and click OK.
Attention! You cannot specify a date later than the last day of the license expiration. More information about licenses can be found here.
To set the deletion time of the post, click on the Date and time of removing field. Then, choose the date and time for deletion from the drop-down menu, and click OK.
Attention! You cannot specify a date later than the last day of the license expiration. More information about licenses can be found here.
![]()
![]()
To select the time zone, click on the Time zone field and choose the desired option from the drop-down list.
When creating the first publication, you need to manually select the time zone. For subsequent publications, the previously chosen time zone will be applied automatically.
Attention! If you have set values in the Date and Time of dispatch or Date and Time of removing, then the Timezone field is mandatory to fill in.
You can also set the frequency of updating the publication on the page so that it appears above other posts in the catalogs. To do this, click on the field and select the desired option:
- Every 7 days.
- Every 14 days.
- Every 30 days.
Attention! When setting up automatic updating with a specified frequency, the post will be deleted, recreated, and published in the catalog.
Then select the number of repetitions, i.e., how many times the publication will be updated at the interval you specify. You can specify a maximum of 100 repetitions and a minimum of 1.
The page also displays information about the number of companies that will receive the posts and the publications for each catalog. If there are fewer publications for a certain catalog, it means that sending posts to this service is not available for some companies.
![]()
If you are creating a publication, then:
- To send the post, click on Send. After that:
-
If the date of future sending is chosen, the post will be first displayed with the status Scheduled. After posting, its status will change to Sent.
-
If the date and time of dispatch were not mentioned, or current time was selected, the post will be sent to the catalogs immediately and will be displayed with the status Sent.
-
If the date and time of removal were chosen, the status Sent will be given after the post dispatching, and then, after the post removal, the status will change to Removed.
-
- To save a publication without submitting it to directories, click on Save Draft.
If you are editing a publication, then:
- For posts with the status Planned and Sent, click Update after making all the changes.
- For posts with the Draft status, after making all the changes, click on Update draft to save the post without sending it to directories. If you need to send it, click on the corresponding button.
What are the requirements for posts in the services, you can find out further.