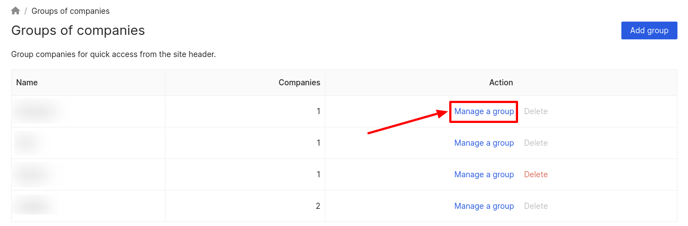
To edit a group, you need to click on Manage a Group in the line of the selected group.
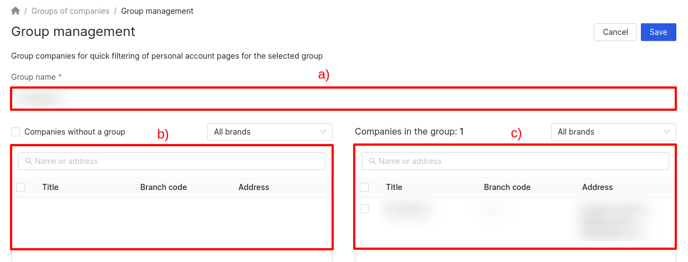
On the Group Management page that opens you can see:
a) The Group name field (the name of the selected group (you can change it)).
b) The list of all companies.
c) The list of companies included in the selected group.
Attention! Only locations with licenses for companies and groups of companies will be displayed on the page.
Fields marked with asterisk (*) are mandatory.
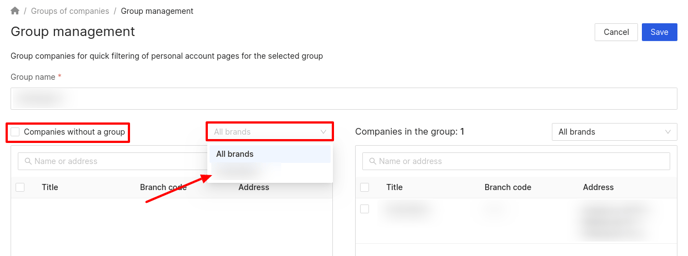
- To display companies that do not belong to any group, it is necessary to check the box next to Companies without a Group above the list of all companies.
- To filter companies by brand, click on the All Brands field above the list of all companies and select the necessary brand from the drop-down list.
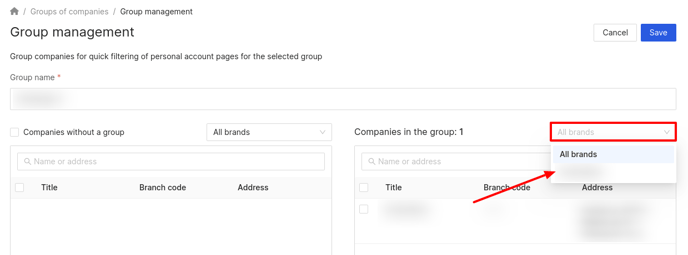
To filter companies in a group by brand, click on the All Brands field above the list of companies in the group and select the desired brand from the drop-down list.
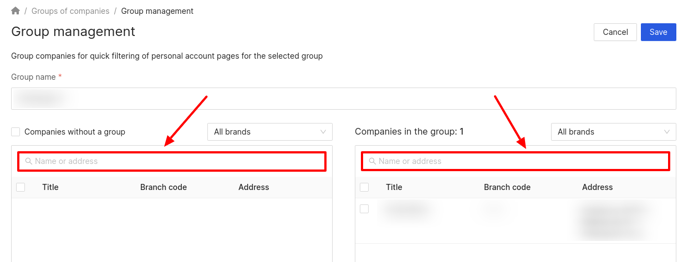
To find a company, enter its name or address in the Name or Address fields.
To add a company to a group:
a) Check the box next to the selected company in the list of all companies.
b) To select all companies, check the box next to Title.
c) Click on the Right arrow.
To remove a company from the group:
a) Check the box next to the selected company in the list of companies in the group.
b) To select all companies, check the box next to Title.
c) Click on the Left arrow.
The page will display only all companies you have access to!
That is, if the group was created by another user and they added a location to it that you do not have access to, a corresponding notification will be displayed.
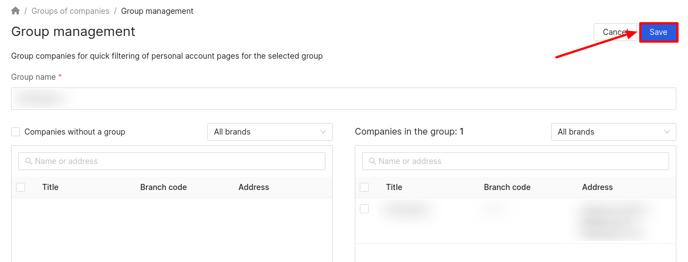
After making all changes, click on the Save button.
You can find out about the Notifications further.