In this article, you will become familiar with the following information:
To add a widget, click the Create Widget button. To edit, click on the three dots and select Edit.

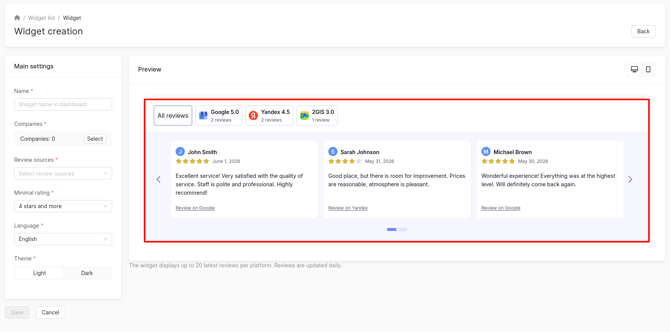
A page for creating or editing a widget will open. On the right, you will see a preview window — this shows how it will appear on your website.
Please note! At the top of the widget, for each catalog, the total number of reviews is shown (only non-deleted reviews with text), regardless of the minimum review rating you have selected for display in the widget settings.
How to configure a widget?
First, enter the widget name. It will only be displayed in the widget list section.
Select the companies whose reviews will be displayed in the widget.
In the opened window, choose the desired companies from the list and click Finish. Companies that are closed or have an expired license will not be displayed.
To find the desired company, you can use the search field by name or address, as well as filters by brands and groups. You can view the already selected companies to understand which locations are still missing. To do this, check the box for Show only selected companies.
If the necessary companies were sorted in the top filter, they can be selected by clicking on Select from common filter. More information about this filter can be found here.
Select the platforms from which reviews will be displayed in the widget. You can select all available catalogs for which reviews are being collected.
The order in which you select the catalogs in this field will be saved and displayed in the widget.

Afterwards, choose the minimum review rating that can be displayed in the widget.

Select the language in which the widget will be displayed.
Next, choose the widget theme: light or dark.
Once all settings are configured, click Save.
How to install a widget on a website?
At the second step, copy the widget code and insert it into your site. All settings saved in your account will automatically update on the site. A widget can be added to an unlimited number of pages across one or more domains.
After connecting the widget, click Finish.
