In this article, you will learn about the following information:
Before connecting the Instagram inbox to BrandWizard, make sure you have an Instagram Business account. If you do not, create one. You can learn more about this here.
How to set up an Instagram channel?
Go to Settings → Inboxes → Add Inbox.

Click on Instagram.

Click the Continue with Instagram button. A new login window will open.
Log in to Instagram.
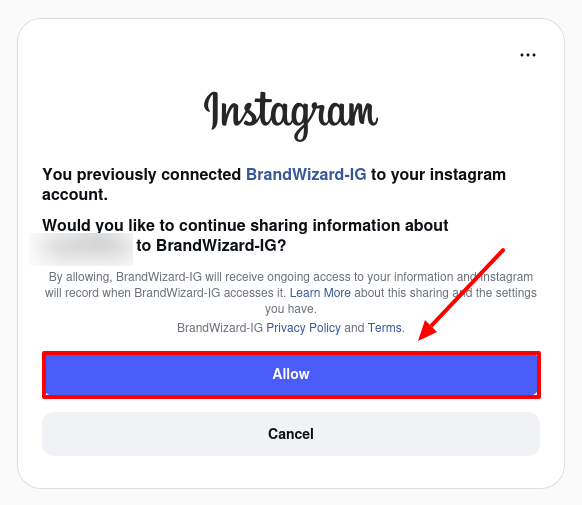
Grant BrandWizard permissions and click the Allow button.
Add agents to your Instagram channel.
You have successfully created an Instagram inbox. Now, when a client sends a message to your Instagram page, you will be able to see it and respond through BrandWizard. To go to the conversation of the created channel, click Take me there.
Additional channel settings
The created Instagram channel should appear in the list under the Inboxes section. To view or change additional settings, go to Settings → Inboxes, then click the gear icon on the Instagram channel.
You will see the following page:
"Settings" section
- Channel Avatar: Add an image of the inbox. Image requirements:
- Size: 15 MB.
- Format: JPEG/PNG.
- Inbox Inbox: Change the name of the inbox if necessary.
- Enable channel greeting: After the client sends the first message, you can set up an automatic reply. To do this, select Enabled.
- Channel Welcome Message: This field will appear if you enable the greeting. Write the response that the client will see after sending their first message, e.g., "BrandWizard typically responds within a few minutes."
After making changes to the settings, click Update.
"Collaborators" section
Click on the Collaborators tab. Here, you can add or remove agents to/from the channel. You can also enable or disable automatic assignment of new conversations to agents added to this inbox. If necessary, limit the maximum number of conversations from the inbox that can be automatically assigned to an agent. Click Update to save changes.
"Business hours" section
Go to the Business Hours tab. In this section, you can set your team's working mode related to the Facebook channel. To activate working hours, check the box Enable business availability for this inbox.
- Once the checkbox is selected, you can write a message for clients that will be displayed during non-working hours.
- You can also set working hours for each day of the week, considering the selected time zone.
After changing the settings, click the Update business hours settings button.
"CSAT" section
Enable CSAT. After this, your customer satisfaction survey will be automatically sent at the end of each conversation. The CSAT results can later be viewed in the Reports section.