In this article, you will become familiar with the following information:
Labels in Multichat help easily classify and prioritize conversations, simplifying workflow management. Assigning a label to a chat through the chat sidebar allows you to quickly identify the topic or status of the discussion.
You can create custom labels, unique to your organization. Additionally, you can set different colors for labels to distinguish them and display them on the chat sidebar for convenient filtering.
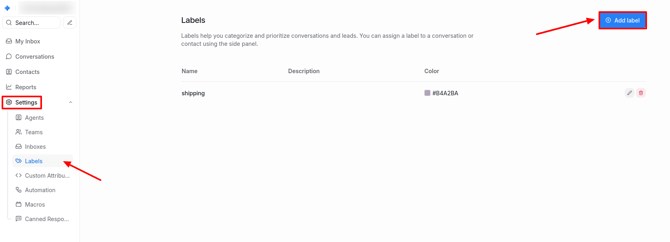
How to create a label?
To add a label, go to Settings → Labels → Add Label.
A window will open where you should fill in the following fields:
- Label name. Specify a name to identify the label. For example: "delivery-issues," "account-issues," "important-client." You can only use letters, numbers, hyphens, and underscores in the name.
- Description. Briefly describe what this label represents. This will help your team easily understand its meaning. For example, for the "important-client" label, a possible description is "Issues of this client should be prioritized."
- Color. Choose a color to facilitate finding the label. After selecting, click the small square again to confirm.
- Show label on sidebar. Check this item if you want the label to be displayed in the chat sidebar.
After filling in the fields, click Create.
You can create as many labels as needed. They can be used across different teams.
To modify a label, click the edit button (pencil icon) to change it. To delete, click the delete button.
When editing, a window will open where you can change the information. Click Edit to save the changes.
How to use labels in a chat?
On the sidebar of an open chat, click on the Conversation actions section. Then click on Add Labels.
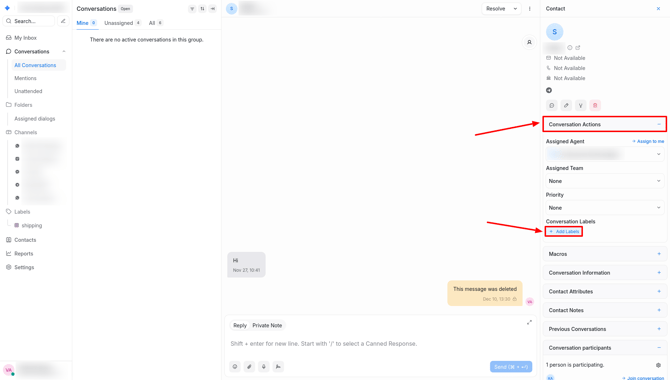
Find and select the necessary label.